
I've been having a problem in my craft room my husband normally leaves the mail or any other paper on my craft table. This causes a problem because its normally cluttered and I don't have any where to put the papers. I thought that I should get a wall file pocket but off course it had to be pretty, I attempted to search for one but I couldn't find one that I like so I decided to buy a plain one and make it pretty. Then I remembered that my sister said that she had mod podge glitter on too my nieces room some items to make it look prettier and she said that it was so easy that she went a little crazy mod podgeing everything that she could until she ran out of glitter. I thought that I could then just make the file pocket glittery.
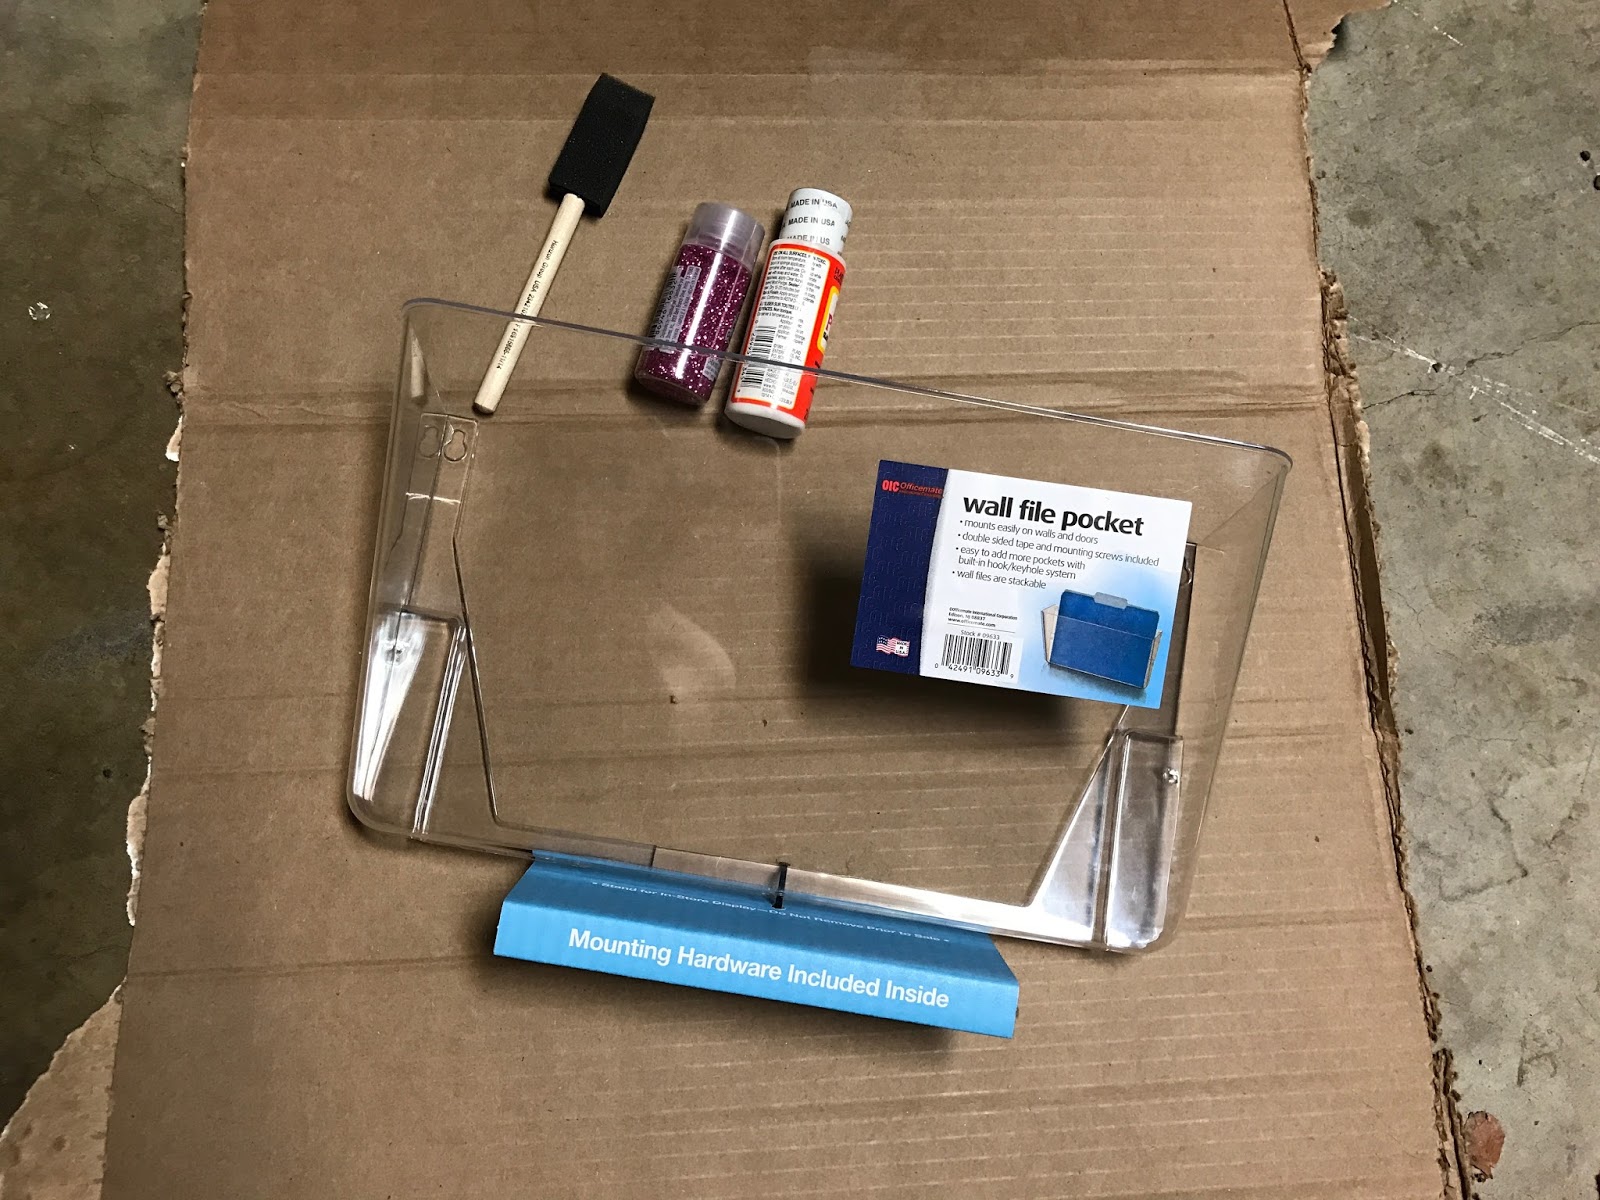
Items:
Wall file pocket from Walmart
Glitter 1oz from Michaels (got it years ago)
Mod Podge 2oz from Targe (dollar section)
Foam Brush from Michaels
Piece of cardboard

First I spread the mod podge all over the fill pocket using the foam brush. Then I covered the fill pocket with glitter, I waited twenty minutes to let it dry. (Thats the instruction on the mod podge to wait about twenty minutes in between coats) This is the first coat.

Then I added a second coat of mod podge, I put the mod podge on the foam brush and then dabbed it. Once it was all coated I added more glitter and allowed to dry for over and hour, just to make sure.

I added a third coat of only mod podge and left it over night for it to dry. It turned out so pretty, I love it and it makes my craft room shine. Now I'm just trying to figure out what else I need to mod podge with glitter.

This are the tools I used to hang it up, I'm sorry I don't know all the names and sizes of the tools but I will try my best (they all belong to my husband).
Items:
Drill
Drill Bits
Screw Driver Bits
Dry wall anchor with screws
Small bag is the tools is what it came with; two screws and three stickies
I used the small drill bit to check to see if there was a stud, I only found one stud, so I only used one of the regular screws and used one dry wall anchor. For the dry wall anchor I used the biggest drill bit to make a whole big enough for the anchor to fit in and then I screwed in the screw.
And finally my clutter is solved yay!!! It turned out so pretty I love it!!

No comments:
Post a Comment