Sunday, May 28, 2017

DIY Disney Ears

 DIY Disney Ears


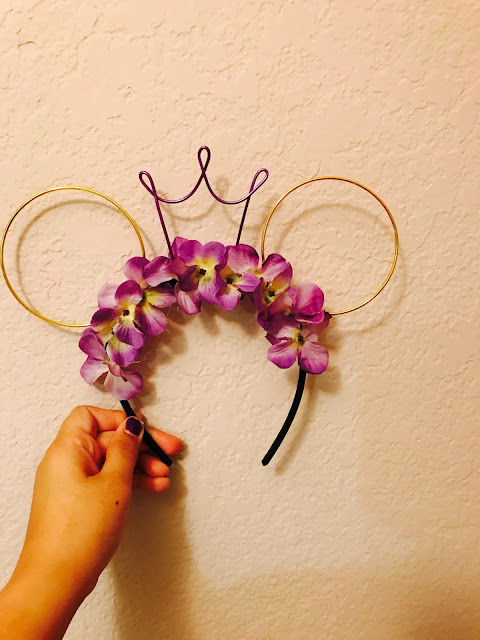
I am preparing my self for Disney and decided to create some ears for myself and my daughter. I know I can buy them there, but its so much fun creating my own.

Materials: Dollar Tree - Flower Wire (gold/purple), Pliers, Head band, Black ribbon, Hot Glue Gun, and any cylinder that is about 3 1/2.

I shaped my ears using this container, and I folded both ends out.

Place both ears over each other, to make sure they are about the same.

I then cut out a 12" piece of purple wire for the crown, I twisted it in the middle and looped the two ends upward again.

I used 2oz bottle of paint to curve the two ends.

I then looped the other two ends, making it look like a crown.

I then glued the ears to the head band with the glue gun.

After that, I wrapped it with the black ribbon and secured the ribbon with the glue gun as I looped it around. I repeated the same thing to the other ear and with the crown.

This is how it looks all put together, now to add the flowers!

I used this purple flowers that I got form the Dollar Tree.

I cut off a few of the flowers and then hot glued them to the head band.

And This was the end product, I love it!!!

Wednesday, February 15, 2017

DIY Valentine Teacher Treat Gifts with Chocolate!


Valentine Goodies 

Wanted to make some goodies for the teachers and coworkers. What better gift to give, then a home made one that has chocolate!

Valentine Trail Mix

 Materials: Caramel Popcorn, Pretzel, Marshmallows, and Kisses.

We emptied out the caramel popcorn and kisses. Poured half of the marshmallows and about 3/4 of the pretzels. Off course I had a little helper, she mixed the trail mix.

Once we had mixed it all together we started to pour the trail mix into the cups using the spoon. 

Fell in love with this cup, its the cutest. This is great gift for a teacher, friend, sister, mom, etc.

I also added some int this pretty baggies and filled them with the trail mix.

I placed this baggies inside a valentine cup, they look them cute. 

Valentine Chocolate Goodies

Materials: Oreo cookies, Rice Krispies individual size, Peeps, and Ghirardelli White Chocolate (or which ever you like or have).
You don't have to use the same treats that I got you can use anything else and even more, but this are the three that I picked.

I heated the chocolate in a medium bowl for 30 seconds and 15 seconds more until it was melted fully.

I then dipped the Oreo cookies halfway and laid it down on cookie sheet.

I then poured sprinkles onto the Oreo cookies, that I got at my local grocery store (Wilton).

I then cut the Peeps into individual hearts.

I then dipped the Peeps heart sideways and only half way into the chocolate.

I laid them them onto the cookie sheet. 

I thought the Peep hearts could use some extra color and used Wilton Bright Pink Chocolate.

I placed some of the chocolates in a zipploc bag and placed them all in one corner. I then placed the bag in the microwave for 30 seconds and then 15 seconds. Once the chocolates were melted I cut the tip of the zipploc.

I then drizzled the pink chocolate onto the Peep hearts.

I did the same thing with the Rice Krispies, I only dipped them half way and laid them on the cookie wax paper. Since I had some left over Oreo cookies, I crushed them into small crumbs and sprinkled them onto the Rice Krispies. They look delicious, what do you think?

This is the end result of all the goodies, what do you all think?

Lastly I placed them in a small box and used valentine cupcake liners to hold the goodies.

I placed some of the other treats in a small heart bag, only two treats are able to fit.

I placed heart bag inside a heart clear bag.

I used this ribbon that I got at the Dollar Tree to tie on the bag.

And this is how it looked in the end.

I love how all the treats turned out and I hope all the teachers and coworkers like them and enjoyed them as much as I did creating them or even more.

Hope you all had a Happy Valentines Day!

Tuesday, February 7, 2017

Valentines Alligator box

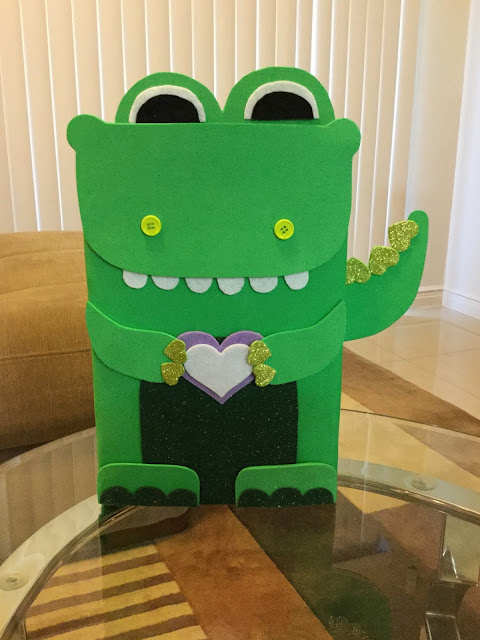
For this Valentines Day I wanted to create a box for my classroom. I originally wanted a Owl themed boxed, but since I had already made one before I decided to make something else. I went with my school mascot the Super Gators, I thought what would be better then that. It took quite some time but I think that it turned out great! I created a pattern and I'm sharing it with you all, continue reading for the free pattern.

Materials needed:
Empty cereal box 
Green foam sheet
Green glittery felt sheet
Black felt sheet
white felt sheet
Ruler
Scissors
Hot Glue Gun
Glue Sticks

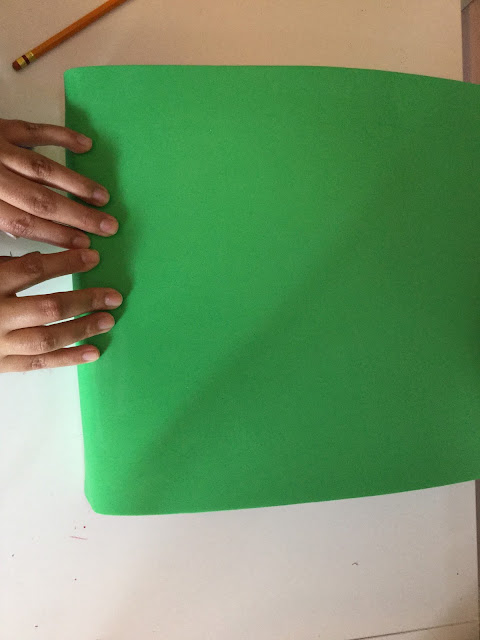
Since the cereal box was bigger then the foam sheet I measured it and market it all around. The foam sheet 12" x 18" used it the longest side to wrap around the cereal box. That meant I needed to cut about 1/2" of the box to make it 12" tall. 

I cut about 1/2" around the cereal box.

I then started by glueing the edge of the foam sheet with the slimmer side of the cereal box. 

 Once I had the edge of the cereal box covered with the foam sheet I folded it and pressed it to wrap around the other side.

I then secured the foam sheet with the hot glue, by placing glue around the edge of the frame of the box. 

I then flipped it over, so that I could make sure that the foam sheet and cereal box are sticking together. I held it pressed for about 20 seconds. 

I placed a paper over the box, and started creating the parts of the alligator.
The paper is recycled, from something I ended up not using.

I sketched the parts of the alligator. 

I then cut them out and traced them onto the green foam sheet and felt sheet.

In the end this were all the pieces. I did not cut out the green glitter hearts (I already had them from Hobby Lobby) and the purple and pink heart my Cricut machine cut it out for me (but I didn't use it in the end, it was to big 😟).

 I glued on all the pieces using the glue gun. I used two heart felts that were the right size for my gator and for the nostrils I used the green buttons that I already had as well. 

It turned out so great, I love it 😍 I hope my students love it as much as I do!

If you want the Free pattern for the alligator box click here.

Let me know what you all think and/or suggestions, and don't forget to follow me for more ideas and DIY's.